While art requires work, an artwork seeks adoration and protection. To achieve this, you need to hang your piece of art and put it on a visual pedestal. Whether you’ve ordered a new piece or have set your eyes on one—it requires some planning! Questions like “how do I hang it?” and “what is a reliable way to do it” might pop up in your head. This is exactly why we bring to you this guide that shares some great tips to help you hang your artwork in a secure fashion.
Once your art is out of the box, it’s time to find it a perfect spot in its new abode. While doing so, avoid locations that are overly sunny as UV rays may damage your artwork over time. Identify the surface you plan to hang the artwork on and understand its property. Get the right nails and wall grips for different wall types—essentially drywall and brick wall. Let’s look at some resources used to secure artworks.
D-Rings
A precise way to hang art in a reliable manner is to use a pair of D-Rings. Screwed onto both sides of the back of an art frame, they are used to hang the frame by means of nails attached to the wall. If you have purchased your art from Espravo, we make your life hassle-free as our framed piece comes attached with D-rings. Smaller frames will have a single hole D-Ring while larger frames will come with two or three-hole D-Ring.
What you Need:
Power Drill / Hammer / Screwdriver
Pencil - to mark where your art will go on the wall
Measuring Tape
Optional:
Level - to help ensure your art is straight!
A partner - if your art is on the heavy side, it can help to have an extra set of hands.
To hang an art frame is an act of smart work and careful tactility! Let’s dive into a step-by-step process of how it is executed.

Step 1: Take Measurements
Width and height of wall space
Width and height of art frame
Step 2: Mark the Position of your Art on the Wall
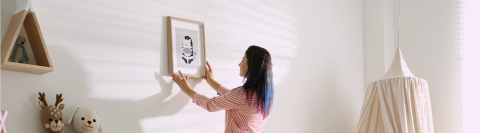
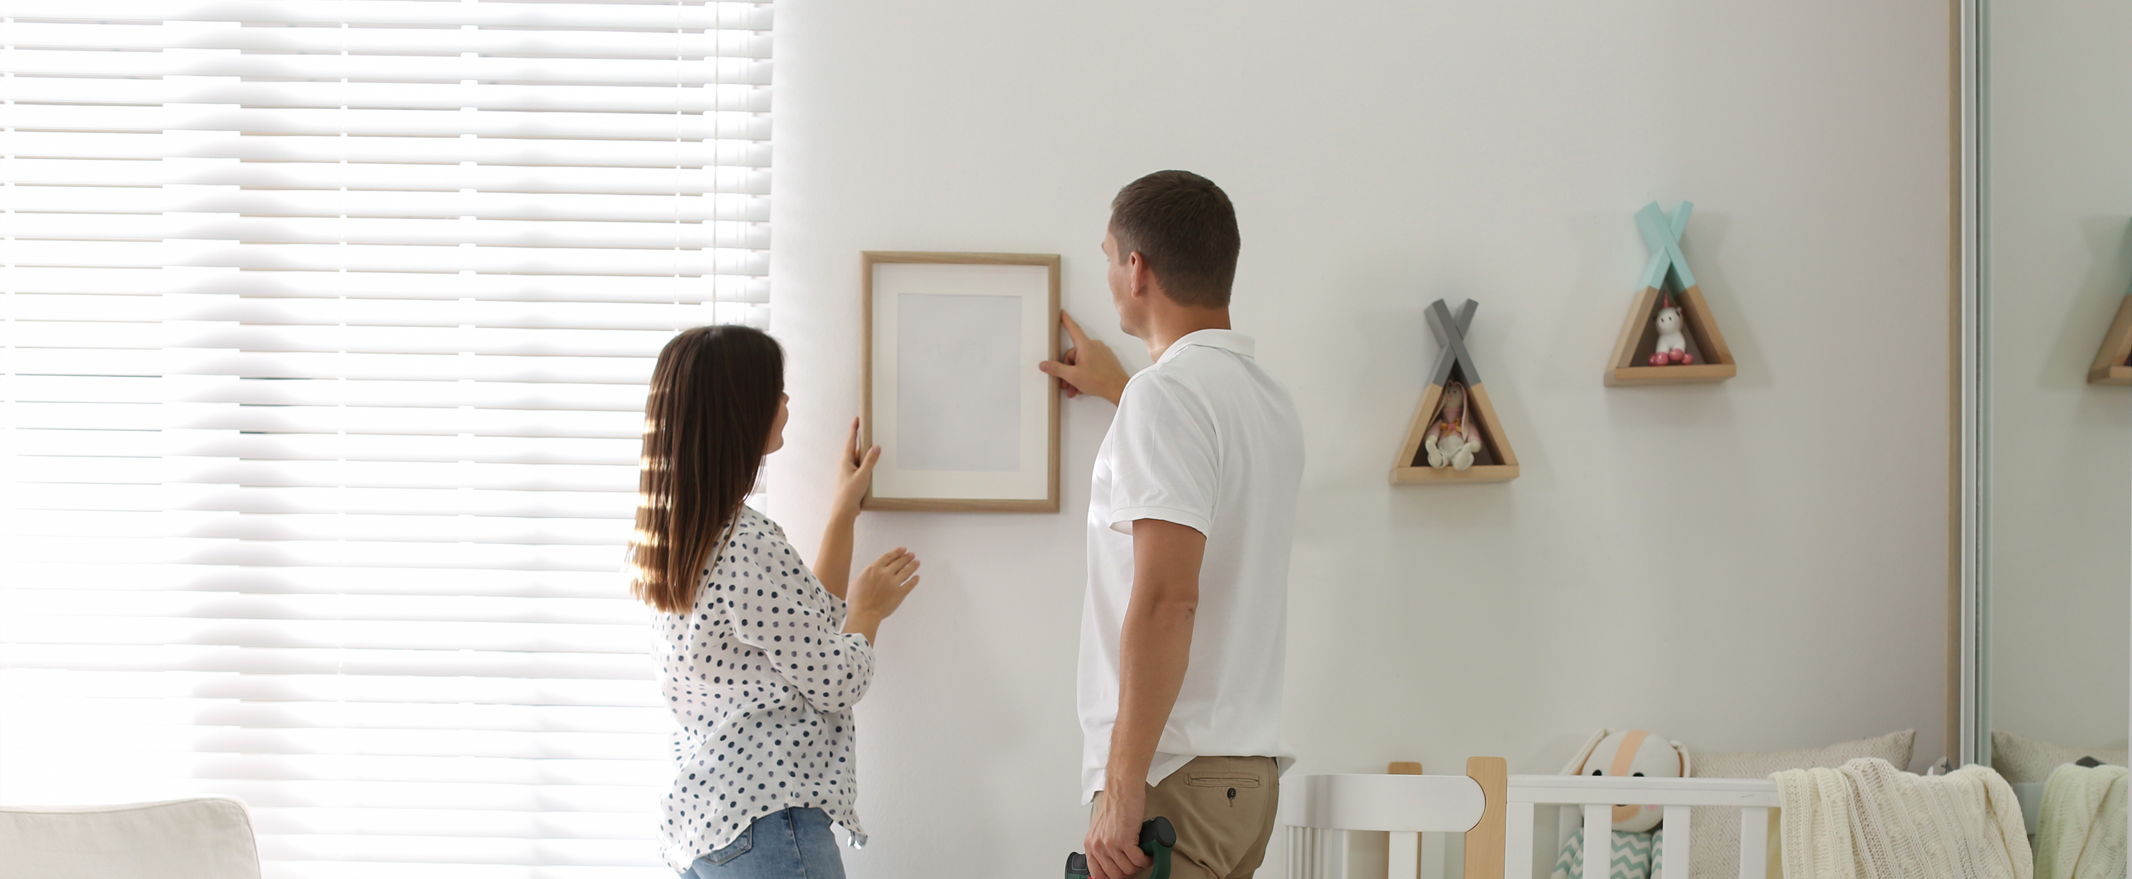
This is the part where decision-making plays a more significant role than technicality. Marking a position for the art frame to go on the wall heavily relies on personal preferences and additionally on weather conditions. Begin with holding the frame up against the wall and figure out where to center and at what height.
Try varied permutations and adjust until you are happy with its visual and accessible appeal. Using a pencil, lightly mark the position of the frame on the wall. To protect your walls from marks or depressions, use a few small pieces of a masking tape!
Here are some sample calculations, though variable, to guide you on how to technically get things done. Let’s assume you want to center the frame on a wall with below dimensions.
Width of wall: 120 Inches
Width of art: 48 Inches
Blank space on either side of art: 36 Inches (120 Inches - 48 Inches ÷ 2)
Once the dimensions are in, measure the left edge of the frame till the center of the D-Ring on the left end. For instance it is 0.4 inches, then the screw-hole has to be marked and drilled at 36.4 inches from the left side of the wall. Now measure the distance from the center of left side D-Ring to the center of right side D-Ring. This will indicate 47.2 inches, which will be the next drill hole marking from the left side drill hole position. This precise calculation will place your art frame centrally on the wall.
It is equally important to consider the height! Hanging it too high will impact the room’s proportions and hanging it too low will make viewing uncomfortable. It is recommended to have your frame mid-point, a little higher than eye level. Remember to lower the frame midpoint for larger pieces above 40 inches. We always suggest holding the frame up against the wall to figure out the feasible height.
Assuming the below dimensions:
Height of wall: 120 Inches
Height of art: 32 Inches
Recommended frame midpoint from floor: 68 Inches
Top of art frame from floor: 84 Inches (68 Inches + 16 Inches (half the height of your frame))
Now measure the distance from the top of the art frame to the center of D-Ring, suppose you get 2 inches. So, 84 inches (top of the art frame from floor) minus 2 inches (distance from top of art frame to center of D-Ring) is where to mark for the wall grip and nails placement on the wall.
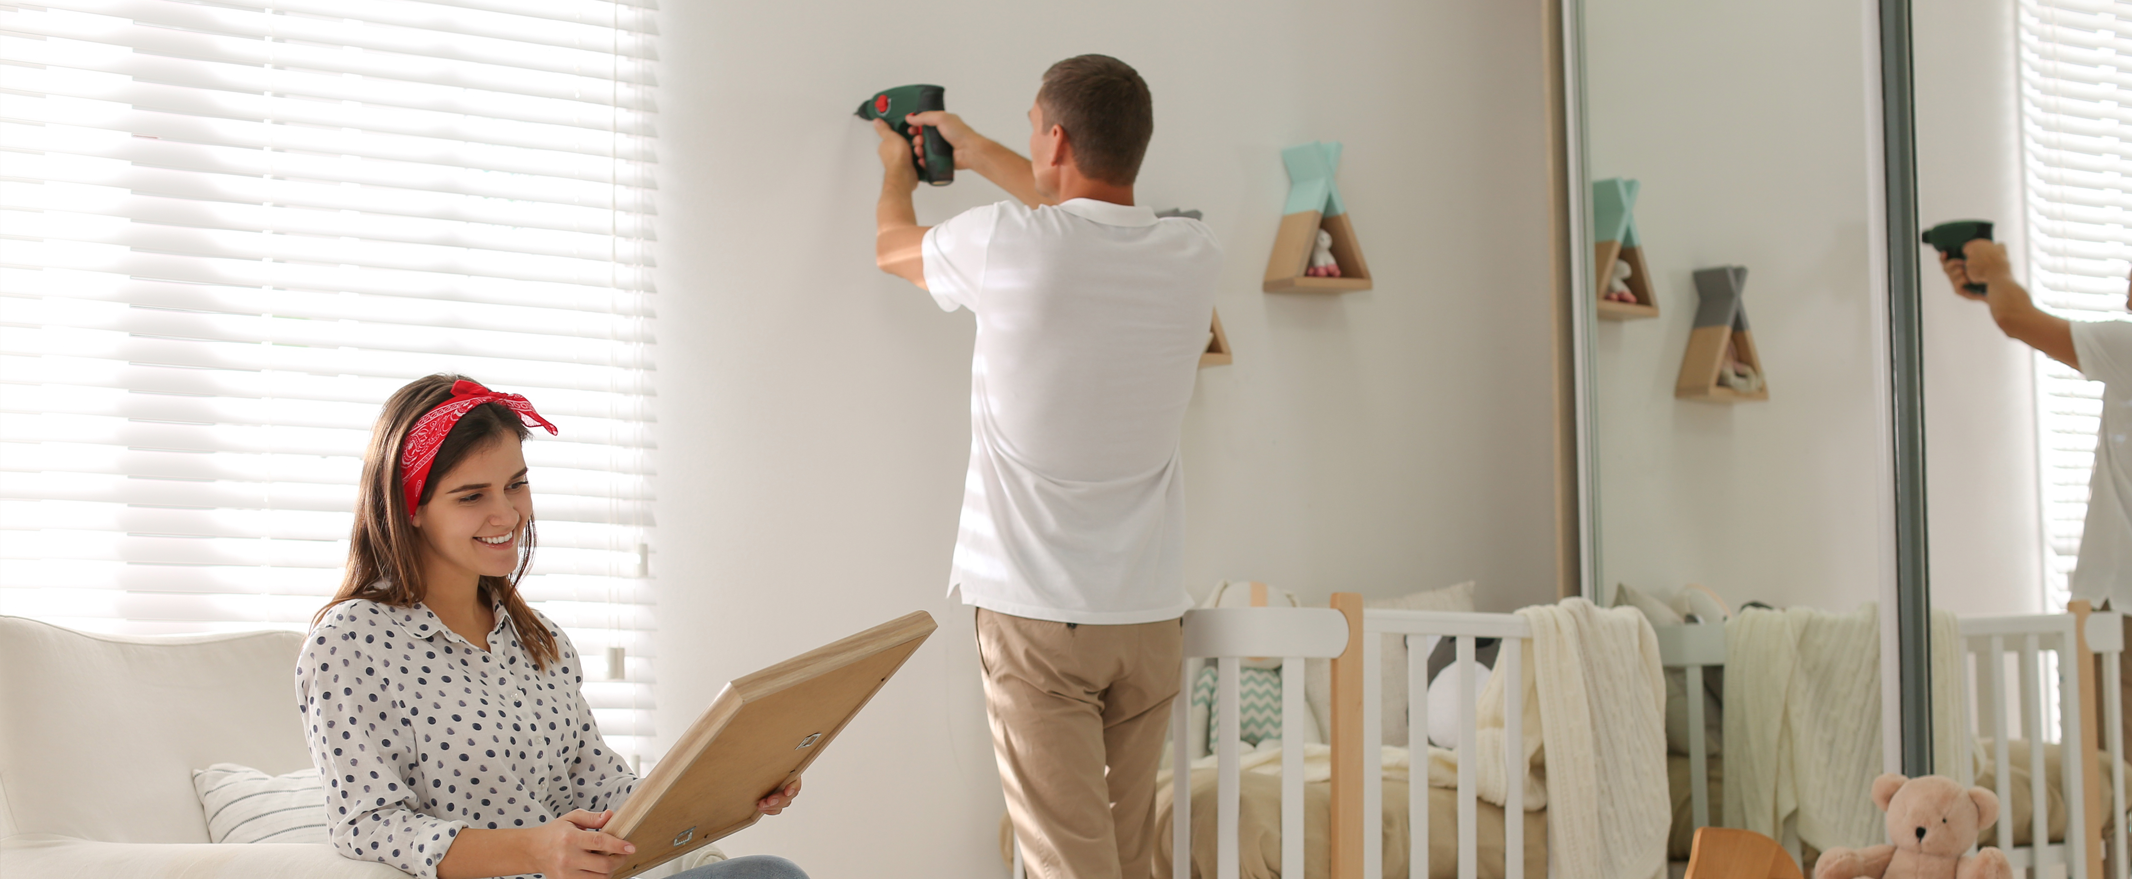
Step 3: Hammer in Wall Grips and Nails
Fixing the wall grips and nails to the earlier marked spots is essential for the frame to be hung on their support. The anchors need to be secured before inviting creativity to grace the wall.
Also Read: How To Pick The Right Art For Your Home
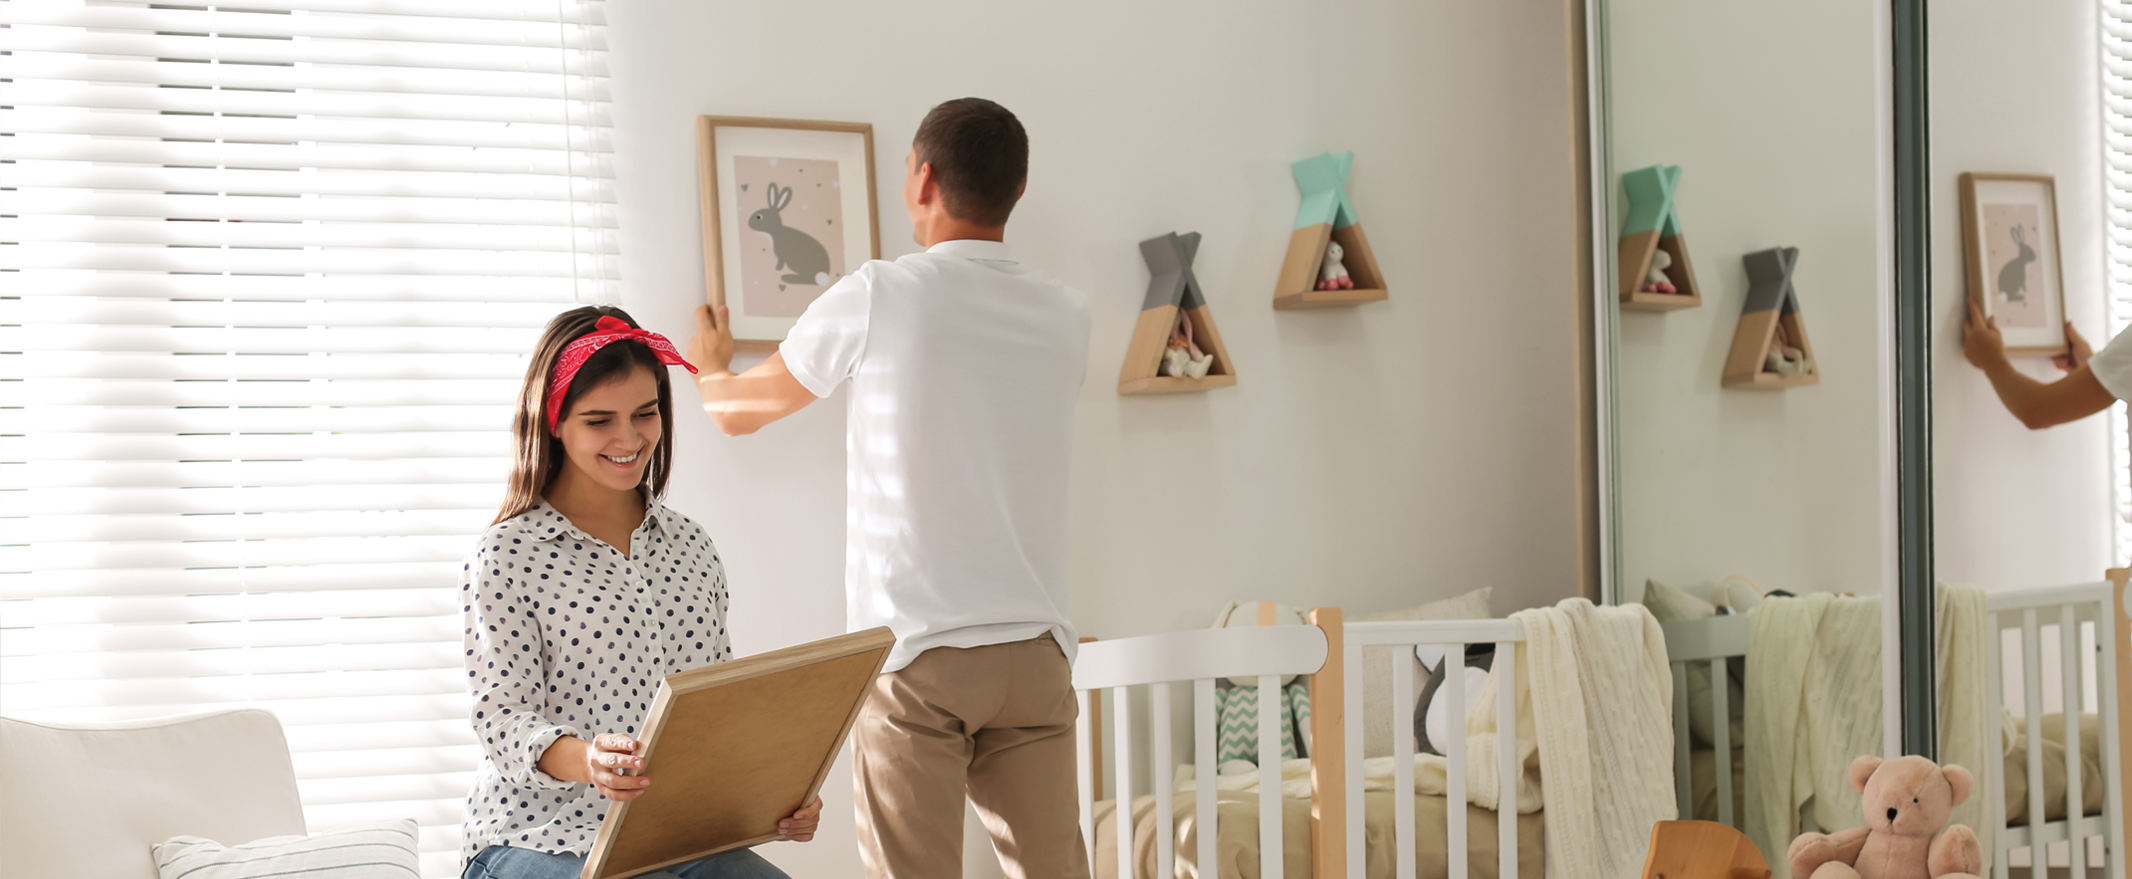
Step 4: Hang your Art
All the background work is now set in place. So, what are you waiting for? It’s time to hang your artwork! Holding the frame with both hands, peek behind the frame to guide it onto the nails. Ensure both D-Rings are locked firmly in the nails before letting go. To be doubly sure, you can also check with a level to confirm it’s hanging straight and even, or just eyeball it and adjust as needed.
And Voila, it’s up! The framed artwork is now ready to grab some attention, add value, infuse an artistic character, or simply reiterate what you resonate with. If your other walls look bare while one of them gets all the focus—then don’t let your other walls get envious!
Scout through our exquisitely curated art prints from global artists at espravo.com and select fine prints to punctuate your other walls in a creative essence.
/blog/beginners-guide-hang-your-artwork-four-simple-steps